- How to Adjust X and Y Axis Scale in Arduino Serial Plotter (No Extra Software Needed)Posted 4 months ago
- Elettronici Entusiasti: Inspiring Makers at Maker Faire Rome 2024Posted 4 months ago
- makeITcircular 2024 content launched – Part of Maker Faire Rome 2024Posted 6 months ago
- Application For Maker Faire Rome 2024: Deadline June 20thPosted 8 months ago
- Building a 3D Digital Clock with ArduinoPosted 1 year ago
- Creating a controller for Minecraft with realistic body movements using ArduinoPosted 1 year ago
- Snowflake with ArduinoPosted 1 year ago
- Holographic Christmas TreePosted 1 year ago
- Segstick: Build Your Own Self-Balancing Vehicle in Just 2 Days with ArduinoPosted 1 year ago
- ZSWatch: An Open-Source Smartwatch Project Based on the Zephyr Operating SystemPosted 1 year ago
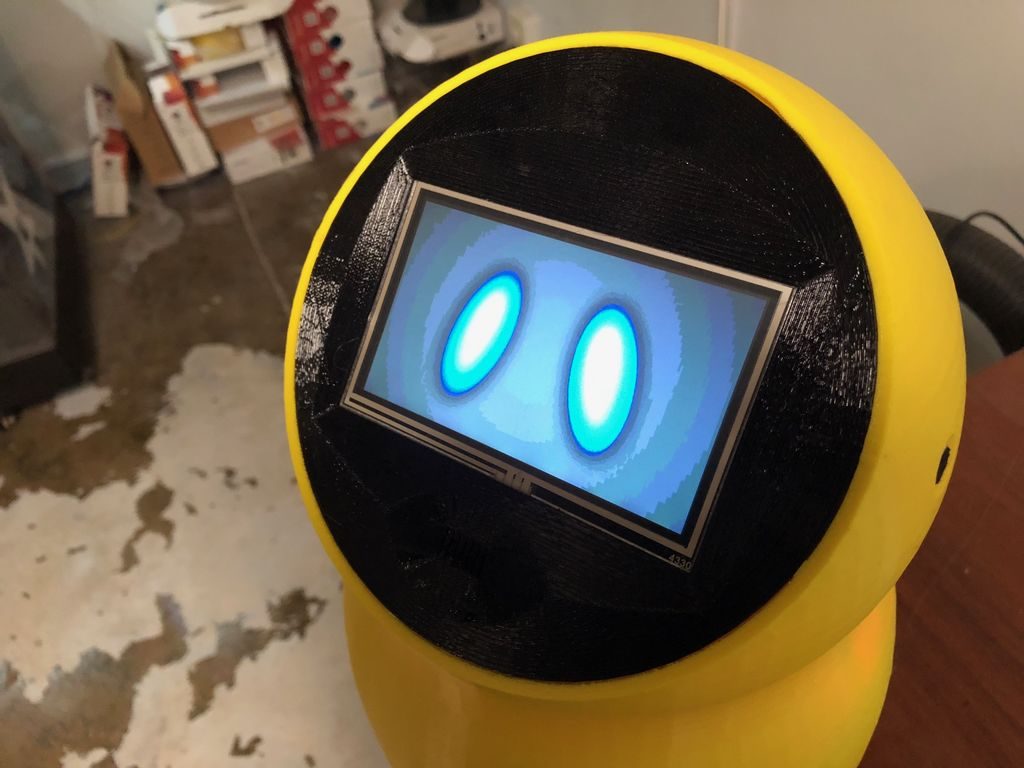
Twinky: DIY Your Personal Arduino Assitant

Adrian Lindermann has just created his small yellow companion taking inspiration from Jibo. Twinky can respond to voice commands via a SpeakUp click module, along with pressure on its face/touchscreen.
Control is provided by an Arduino Mega, and Twinky can interact with other devices using a Bluetooth module. The robot’s head can even turn in order to point the display in the needed direction, and it’s able to play sound through an audio amplifier and speaker.
The creator has kindly published all the required 3D printing STL files allowing you to easily recreate your very own if you have access to a 3D printer.
Other components required to complete the robotic personal assistant include:
– Arduino Mega
– SpeakUp Click
– RCT
– Bluetooth
– 4 Rellay Module
– Audio Amplifier
– Speaker
– DC Motor
– 2 Digital Signal Microphones
– 4.3in ITEAD touch screen
– SD Module
– RGB LED
– Arduino Mega Prototyping shield
For more details about Twinky jump over to the Instructables website or watch the demonstration video below.


