- How to Adjust X and Y Axis Scale in Arduino Serial Plotter (No Extra Software Needed)Posted 4 months ago
- Elettronici Entusiasti: Inspiring Makers at Maker Faire Rome 2024Posted 4 months ago
- makeITcircular 2024 content launched – Part of Maker Faire Rome 2024Posted 6 months ago
- Application For Maker Faire Rome 2024: Deadline June 20thPosted 8 months ago
- Building a 3D Digital Clock with ArduinoPosted 1 year ago
- Creating a controller for Minecraft with realistic body movements using ArduinoPosted 1 year ago
- Snowflake with ArduinoPosted 1 year ago
- Holographic Christmas TreePosted 1 year ago
- Segstick: Build Your Own Self-Balancing Vehicle in Just 2 Days with ArduinoPosted 1 year ago
- ZSWatch: An Open-Source Smartwatch Project Based on the Zephyr Operating SystemPosted 1 year ago
Putting a Raspberry Pi Into the Official Pi Keyboard

The Raspberry Pi Foundation has recently made available an official Raspberry Pi keyboard priced at just £15 and equipped with a 3x USB 2.0 type-A ports for connecting other peripherals and provides compatibility with all Raspberry Pi products.
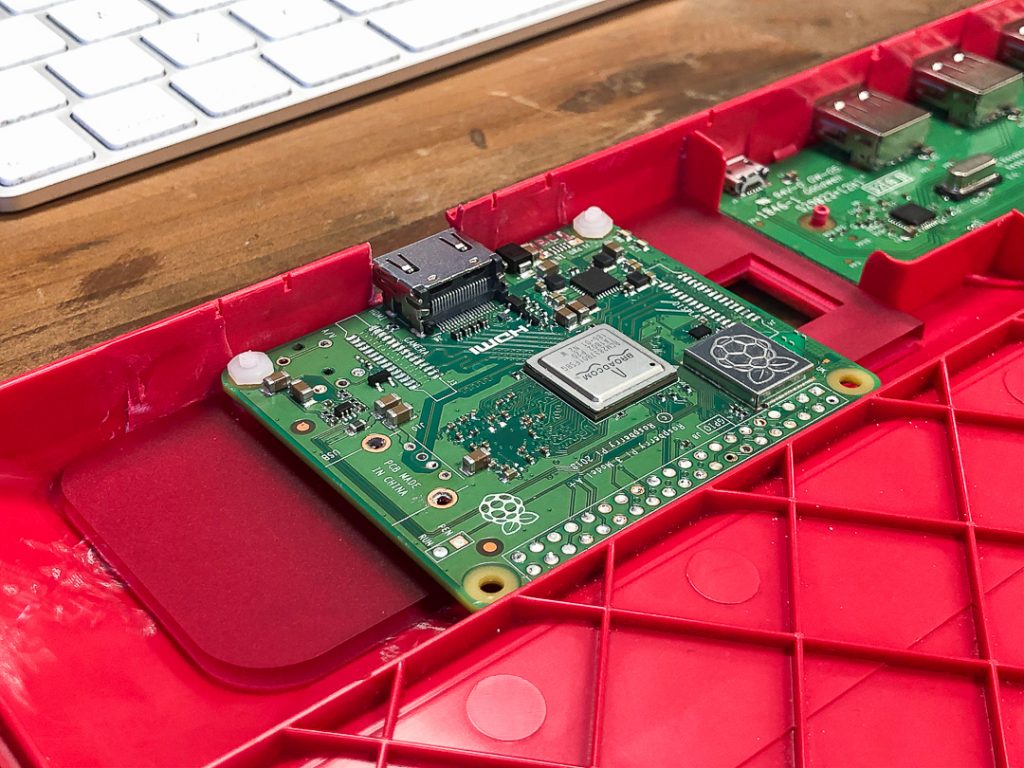
Sandy Macdonald thought it wasn’t enough, so in the Pimoroni blog he published a complete guide to install a Raspberry pi 3 A+ into the keyboard to make it a proper Raspberry Pi mini PC.
“Our plan, as with most of these hacks, was to leave the keyboard looking as close to normal outwardly, so our idea was to wire the host micro-B port on the keyboard/hub PCB to the USB port on the Pi, and power (5V and ground) from the host micro-B port to the Pi’s GPIO to give it power. This would mean that all you would have to do would be to plug a power supply into the micro-B port on the keyboard and the Pi would be powered and be connected to the keyboard, with the minimum of messy wires outside the keyboard.”
Tools required for this project are:
- Raspberry Pi keyboard
- Raspberry Pi 3 A+
- Hot-air gun
- Plastic spudger/pry tool
- Dremel
- Wet-and-dry paper
- Pliers
- 3mm Perspex and access to a laser cutter (not essential)
- Super Glue
- M2.5 bolts and nuts
- Copper enamelled wire
- Hook-up wire
- Kapton tape
- Hot glue gun
Further information are available on Pimoroni blog.


