- How to Adjust X and Y Axis Scale in Arduino Serial Plotter (No Extra Software Needed)Posted 5 months ago
- Elettronici Entusiasti: Inspiring Makers at Maker Faire Rome 2024Posted 5 months ago
- makeITcircular 2024 content launched – Part of Maker Faire Rome 2024Posted 7 months ago
- Application For Maker Faire Rome 2024: Deadline June 20thPosted 9 months ago
- Building a 3D Digital Clock with ArduinoPosted 1 year ago
- Creating a controller for Minecraft with realistic body movements using ArduinoPosted 1 year ago
- Snowflake with ArduinoPosted 1 year ago
- Holographic Christmas TreePosted 1 year ago
- Segstick: Build Your Own Self-Balancing Vehicle in Just 2 Days with ArduinoPosted 1 year ago
- ZSWatch: An Open-Source Smartwatch Project Based on the Zephyr Operating SystemPosted 1 year ago
DIY Pi-Powered TV Recorder

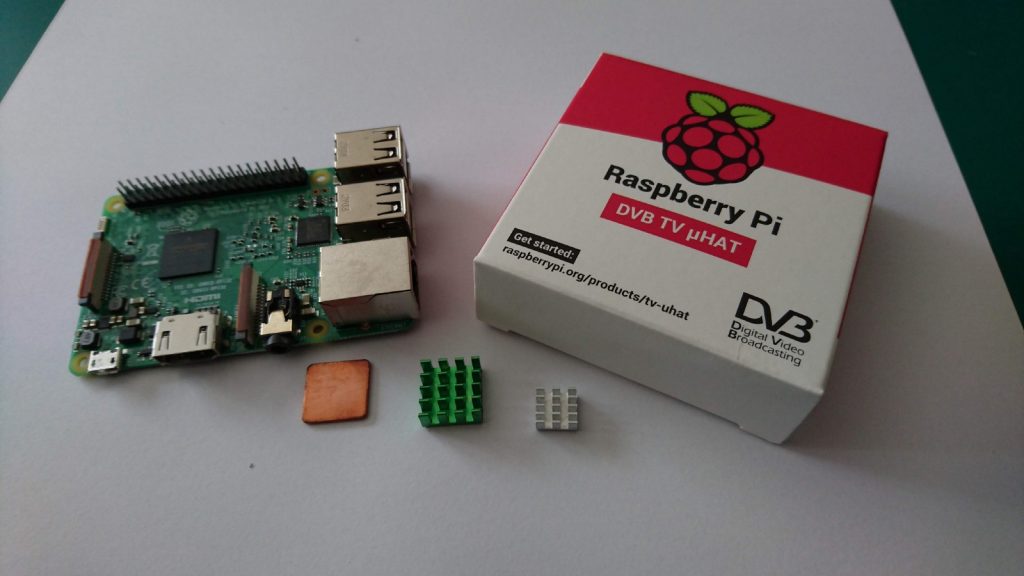
“If you are a Pi-addict like me, I’m sure you were extremely happy like I was, when was announced few months ago, the official Raspberry Pi TV HAT. At the same time, my ISP announced a new upcoming setup box, meaning that I had to initiate the “retrieval” of all TV recordings out of my existing setup.”
The maker Pierre-yves Baloche created an awesome Raspberry Pi TV recorder to help make sure you never miss your favourite digital TV show or film.
He used a WD Pi-Drive to house the Raspberry Pi3 and a Premium Raspberry Pi Zero Case to house the HAT, connected with a ribbon cable and worked out how to get the software working.
The Pi Zero Case also offers GPIO accesses on both top and bottom sides at the same time.
On software side, he kept the Raspbian GUI at first for easier control, but then he decided to switch it off to keep the command-line only interface, in order to keep as much processing power for recording and streaming from the set.
Full instructions to create your very own together with all the code you will require for a fully functioning Raspberry Pi TV recorder are available on Medium.com website.


