- How to Adjust X and Y Axis Scale in Arduino Serial Plotter (No Extra Software Needed)Posted 7 months ago
- Elettronici Entusiasti: Inspiring Makers at Maker Faire Rome 2024Posted 7 months ago
- makeITcircular 2024 content launched – Part of Maker Faire Rome 2024Posted 9 months ago
- Application For Maker Faire Rome 2024: Deadline June 20thPosted 11 months ago
- Building a 3D Digital Clock with ArduinoPosted 1 year ago
- Creating a controller for Minecraft with realistic body movements using ArduinoPosted 1 year ago
- Snowflake with ArduinoPosted 1 year ago
- Holographic Christmas TreePosted 1 year ago
- Segstick: Build Your Own Self-Balancing Vehicle in Just 2 Days with ArduinoPosted 1 year ago
- ZSWatch: An Open-Source Smartwatch Project Based on the Zephyr Operating SystemPosted 1 year ago
DIY an Affordable SD Card Duplicator

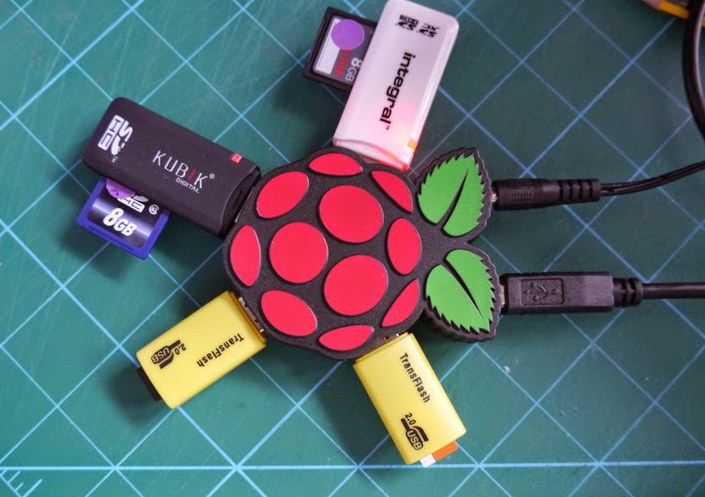
If you have to duplicate many SD cards for example to boot Raspbian on multiple Raspberry Pi board but you want to save money, probably you’d better build a SD card duplicator by yourself. This is exactly what Bob Brown, a retired senior lecturer, have done.
You’ll first need some hardware, including a powered USB hub with the number of cards you want to duplicate, and corresponding SD card reader, and a larger micro SD card to hold Raspbian and/or other operating systems (optional, only for Raspberry Pi based duplicator). Mr. Brown made a 10-port SD card duplicator (1-to-9) for just under $100.
He shared a detailed guide on Kennesaw State University website.
Here’s what you’re going to do:
- Make an SD card that’s perfect for your class or other purpose. This will become your master image.
- Make an image on the big card from your master SD card.
- Shrink the image and make it auto-resize on first boot.
- Flash your image onto other SD cards using dcfldd, up to ten or more at a time!
He used PiShrink to reduce the size of the firmware image of the SD card to duplicate so that it can fit into SD card with a slightly smaller size.
It’s time to say a word about shrinking the image. There are two reasons for doing that. The first is that it will make a smaller image, and so things will run faster. If you work with 16 GB cards, you can probably shrink the image from 16 GB down to around 6 or 7 GB, so operations will run more than twice as fast!
The more serious problem is that “16 GB” cards from different manufacturers may be of slightly different sizes. If you make your image using a card that’s a little bit bigger than average, then try to flash it onto one that’s a little bit smaller, the operation will fail. By shrinking the image, you make sure your image will fit when you flash it onto cards that are nominally 16 GB. The auto resize function will give you back the full capacity of the SD card upon the first boot.


