- How to Adjust X and Y Axis Scale in Arduino Serial Plotter (No Extra Software Needed)Posted 4 months ago
- Elettronici Entusiasti: Inspiring Makers at Maker Faire Rome 2024Posted 4 months ago
- makeITcircular 2024 content launched – Part of Maker Faire Rome 2024Posted 6 months ago
- Application For Maker Faire Rome 2024: Deadline June 20thPosted 8 months ago
- Building a 3D Digital Clock with ArduinoPosted 1 year ago
- Creating a controller for Minecraft with realistic body movements using ArduinoPosted 1 year ago
- Snowflake with ArduinoPosted 1 year ago
- Holographic Christmas TreePosted 1 year ago
- Segstick: Build Your Own Self-Balancing Vehicle in Just 2 Days with ArduinoPosted 1 year ago
- ZSWatch: An Open-Source Smartwatch Project Based on the Zephyr Operating SystemPosted 1 year ago
Arduino Powered PCB UV Exposure “Tool”

“Plenty of DIY PCB UV exposure tool building posts are available on the internet with total different approaches. I also designed my own, to fulfill my needs: it should be relative small and portable and the hacking/modding should be fun. ? Flat bed scanners were found as possibly good target. Compared to most of the other scanner mods, which use LED arrays or fluorescent tubes across the whole scanner bed area, my plan was to use the scanner carriage with only few LEDs and control its movement (and brightness) under the given PCB.
…After a quick search on the local second hand portal I found a nice old Mustek 1200CP for about 4 EUR. I made the investment and started the work.”
Hacker Andras Kabai decided to build himself a custom PCB and made his own UV exposure tool to help him with the process using an old flatbed scanner as the base.
Rather than line the entire underside of the bed with LEDs, he cleverly repurposed the single-axis gantry that would normally hold the scanning unit to instead contain a row of LEDs to expose the PCB on top.
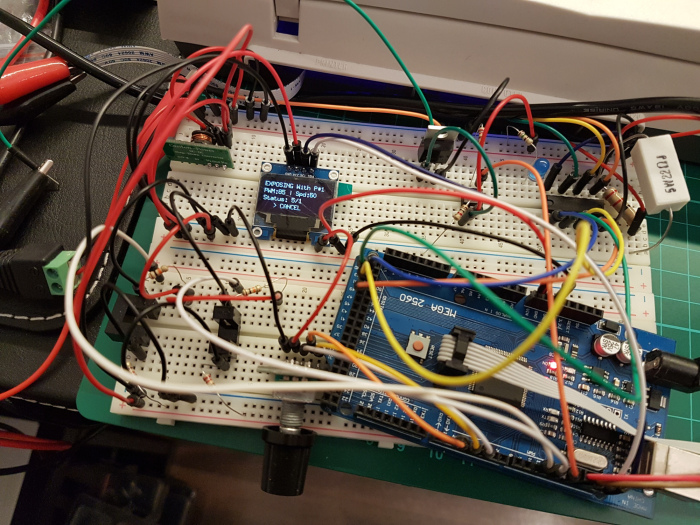
The project was prototyped with an Arduino Pro Mini, but was eventually supplanted by a Mega when the smaller board’s limits were reached.
You can check out the device’s development in the video below. Further information are available at project’s page.


