- How to Adjust X and Y Axis Scale in Arduino Serial Plotter (No Extra Software Needed)Posted 7 months ago
- Elettronici Entusiasti: Inspiring Makers at Maker Faire Rome 2024Posted 7 months ago
- makeITcircular 2024 content launched – Part of Maker Faire Rome 2024Posted 9 months ago
- Application For Maker Faire Rome 2024: Deadline June 20thPosted 11 months ago
- Building a 3D Digital Clock with ArduinoPosted 1 year ago
- Creating a controller for Minecraft with realistic body movements using ArduinoPosted 1 year ago
- Snowflake with ArduinoPosted 1 year ago
- Holographic Christmas TreePosted 1 year ago
- Segstick: Build Your Own Self-Balancing Vehicle in Just 2 Days with ArduinoPosted 1 year ago
- ZSWatch: An Open-Source Smartwatch Project Based on the Zephyr Operating SystemPosted 1 year ago
3D Printed Raspberry Pi Powered Pikon Telescope

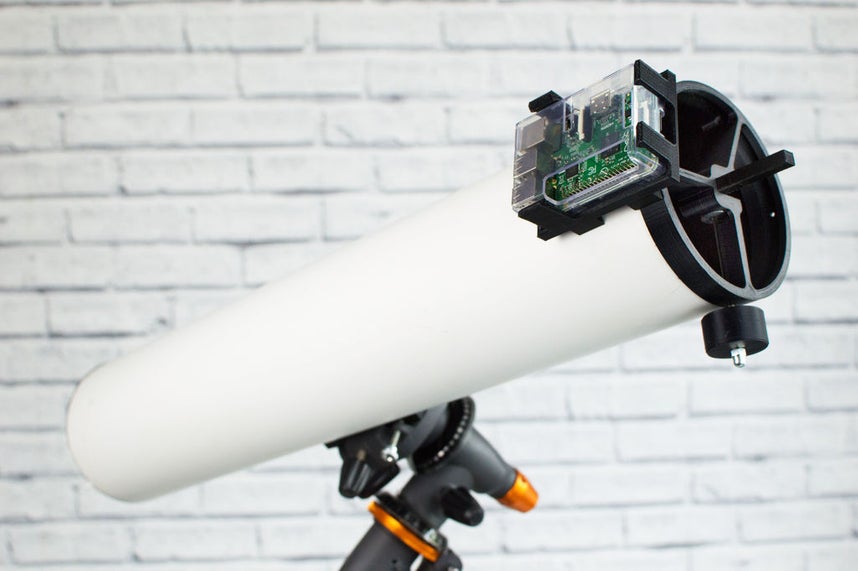
The maker Mika Yeap has created a new telescope project combining 3D printed parts, a telescope tube and the Raspberry Pi board. The PiKon is a ‘astro-cam’ telescope powered by a small Raspberry Pi mini PC capable of monitoring and capturing the night sky.
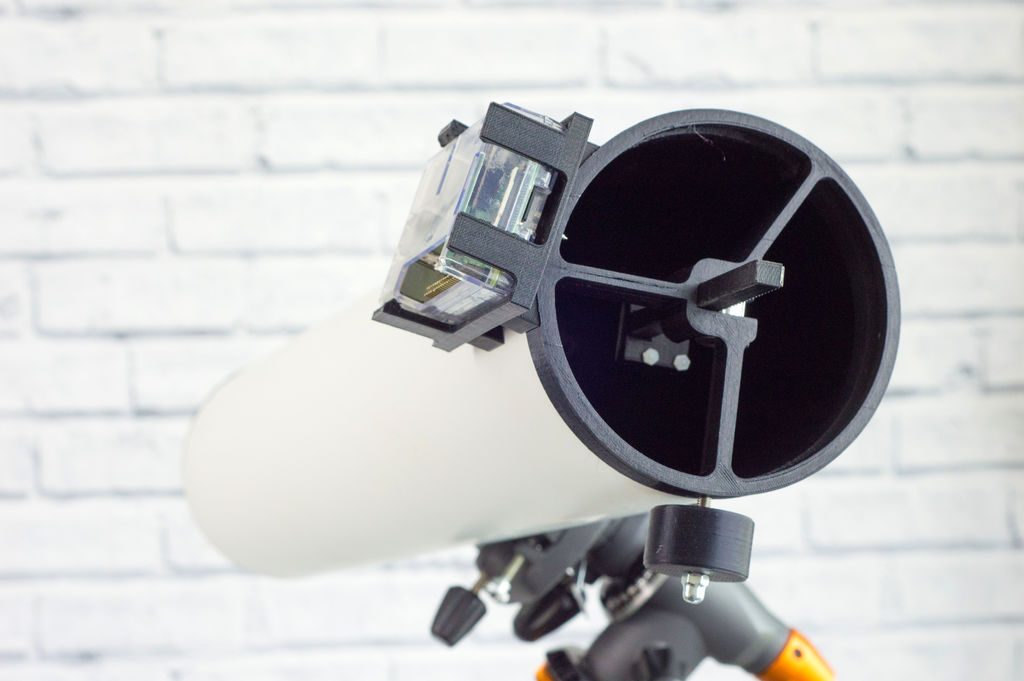
The design replaces the conventional eye-piece of a Newtonian reflecting telescope with a Raspberry Pi camera (lens removed). The telescope mirror is then used to focus an image on the Raspberry Pi camera sensor giving a field of view of about 1/4 degree.
Pictures are taken through the command line, so it’s most convenient to choose to boot to the command line rather than the GUI Explains Yeap.
The PiKon telescope is now ready to use Pimoroni’s Ninja Pibow Raspberry Pi case mounted onto the telescope tube.
The Raspberry Pi requires a power supply, USB keyboard, HDMI display and Mouse for graphic user interface (GUI). A VGA monitor may be used with a HDMI to VGA adaptor.
The Raspberry Pi is supplied with a pre-programmed micro-SD card. It is recommended that the Raspian operating system be installed. The PiKon image capture is performed using command lines, so it is more convenient to select boot up to command line during set up, than boot up to GUI.
Further information and STL files are available for download on Intructables.com.


